Network-integrated process logging tutorial
Overview
Two flows to understand:
- Work flow
- Resource flow
...and how they interact with each other.
Workflow:
- Take an unassigned task on the Work page.
- The task will then go into your Work in Process.
- Open the Lab Notes for the task, which is where everything else happens:
- Document your work while logging your time contribution
- Log the materials and tools you used
- Log the output resources you created
- Log any outputs that failed the tests, and why they failed
Resource flow:
- When you log the output resources you created, they:
- go into inventory, and
- become available to the next process(es) that want them as inputs.
Details
Take an unassigned task on the Work page:
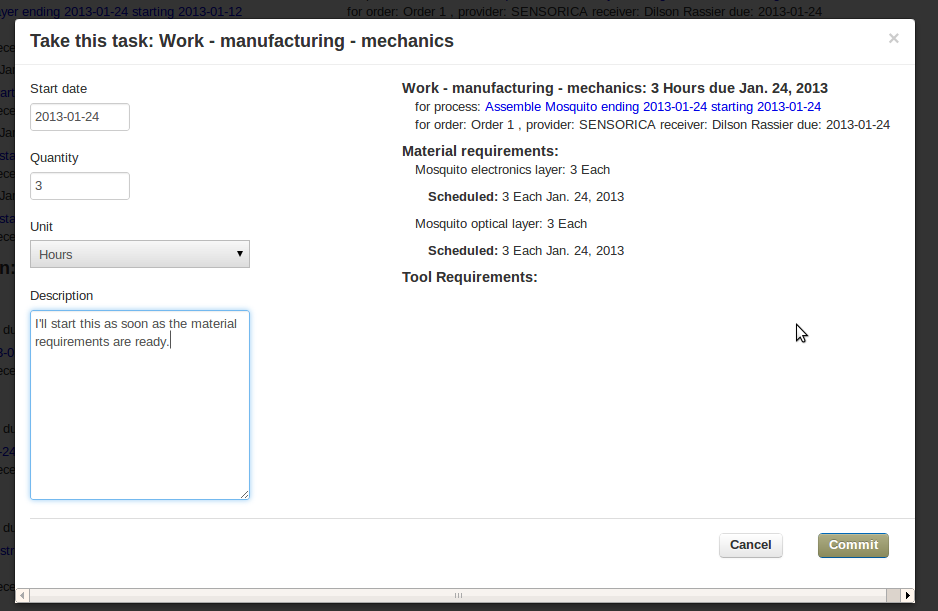
When you click on the "Take this task" button, you will see this dialog:
The dialog will show the status of any material and tool requirements, which may help you decide when you can start your work.
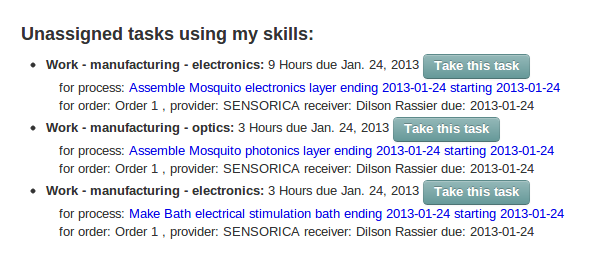
You can take tasks that appear in the section called "Unassigned tasks using my skills", or you can take tasks in the section called "Other unassigned tasks". ("My skills" just means that you have logged time contributions doing this kind of work before. So if you take a task that was not "using your skills" and log a time contribution, it will then be in your skills.)
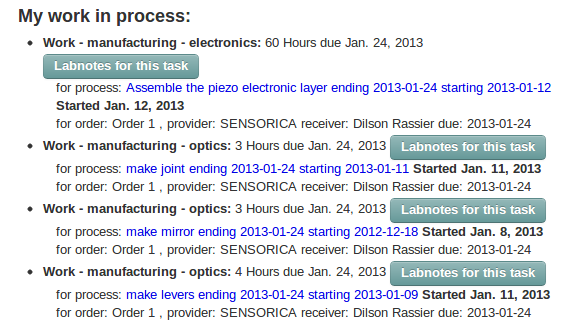
When you commit to a task, it will show up in your Work in Process on the Work page:
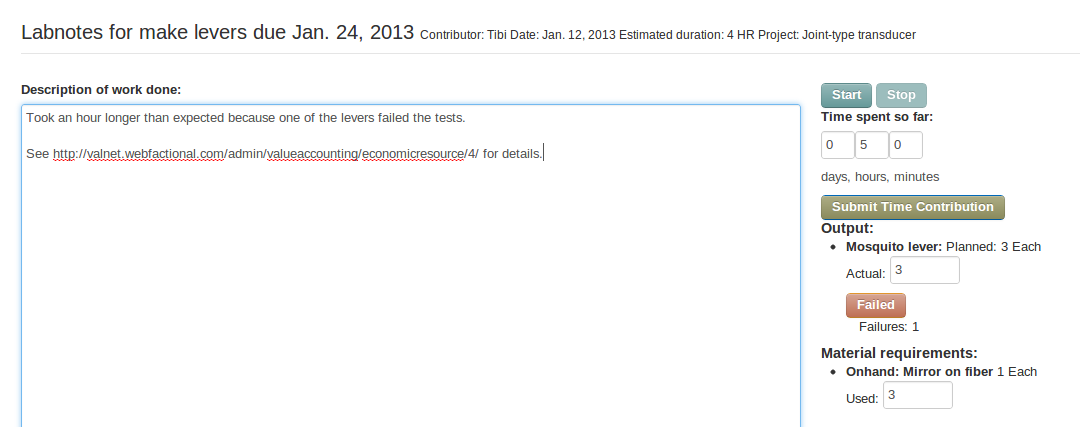
If you click the Labnotes button, you will open this form:
Document your work while logging your time contribution:
You should probably document your work better than the "example" above. When somebody writes a better example, it will replace this one.
You can log time by clicking the Start button when you start, and the Stop button when you stop. You can click "Start" and "Stop" as many times as you want. The elapsed time will continue to accumulate until you click the "Submit Time Contribution" button.
The Submit button will return you to the Work page, but you can click the Labnotes button again, and continue to document your work and accumulate time on the same task.
You can also just enter the time in the days, hours and minutes fields by hand, if you prefer.
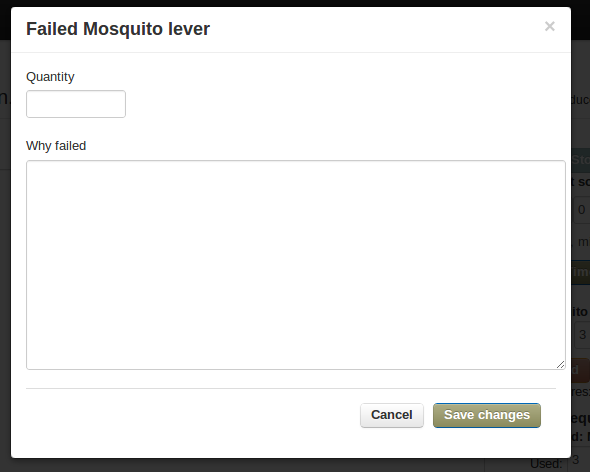
If you click the Fail button, you will see a dialog where you can enter the quantity of outputs that failed, and why they failed:
You should also log the number of output resources produced, and input materials and tools used.
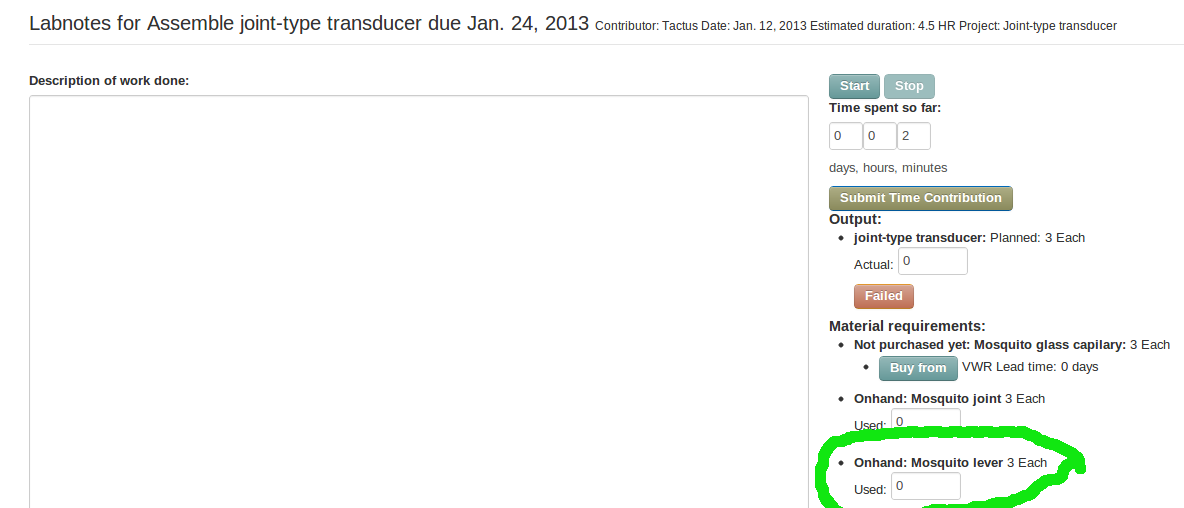
The output resources you log will then appear on the Labnotes page for the next process:
